In today’s ecologically concerned world, water conservation is more important than ever. Creating your own DIY rain barrel is an efficient way to accomplish this. In today’s step-by-step tutorial, I’ll teach you how to build a rain barrel with readily accessible Walmart supplies and a few simple tools. A member of the Hometalk editorial staff transcribed this post from the original HometalkTV episode.
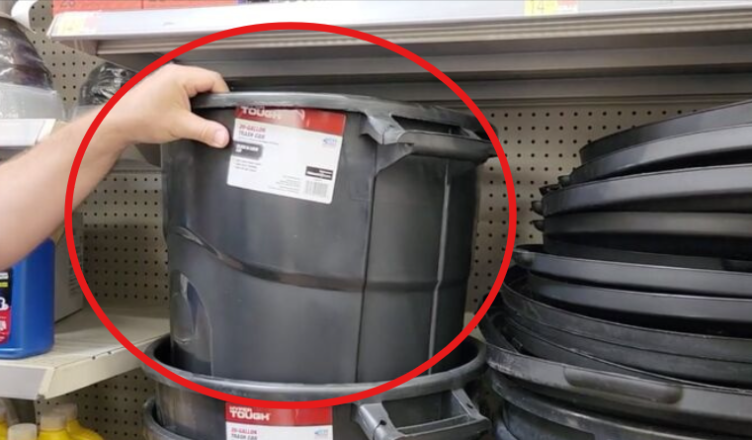
With this DIY rain bucket, you can gather rainfall and put it to good use, helping to conserve water in your community. Tools and Materials To begin my endeavor, I went to my local Walmart to get a tiny waste bucket with a cover. 1. Choose a lid with a concave curvature to gather rainwater efficiently. Turn the lid upside down and lay a scrap piece of wood under the center.
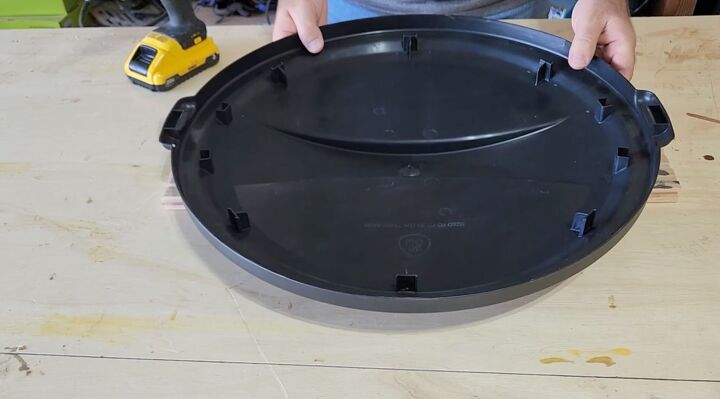
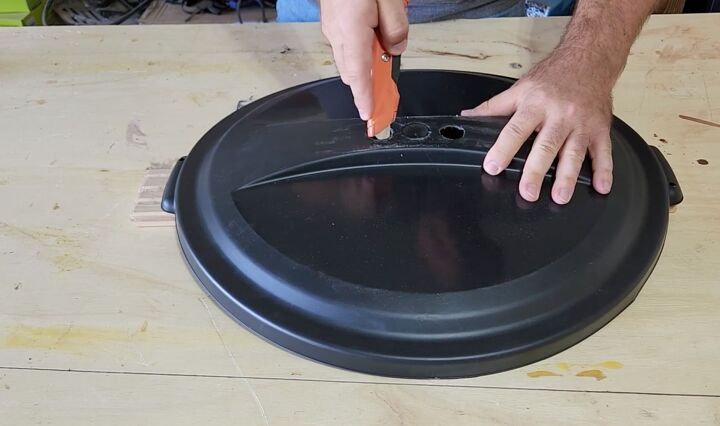
Drill two holes in the lid. To ensure that the water enters the container fast, use a drill bit that is at least one inch in diameter. Drill at least two locations near the lowest point to ensure that there is no standing water. After drilling through the lid, turn it over and use a tiny knife to remove any burrs or plastic. This prevents material from being stuck and clogging the holes.
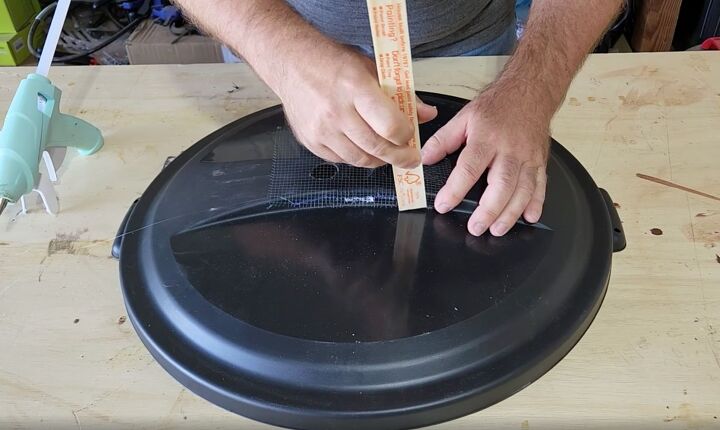
2. Add a mesh filter. Next, use a little piece of mesh as a filter to prevent any leaves from entering the lid. I fastened a four-inch piece of metal mesh to the lid. Apply a bead of hot glue to one side of the region where you drilled the holes. Use a disposable paint stick to assist lay down the screen and avoid getting burned by the hot glue before it cools. Using the stick, I press the mesh all over the lid to ensure adequate adhesion.
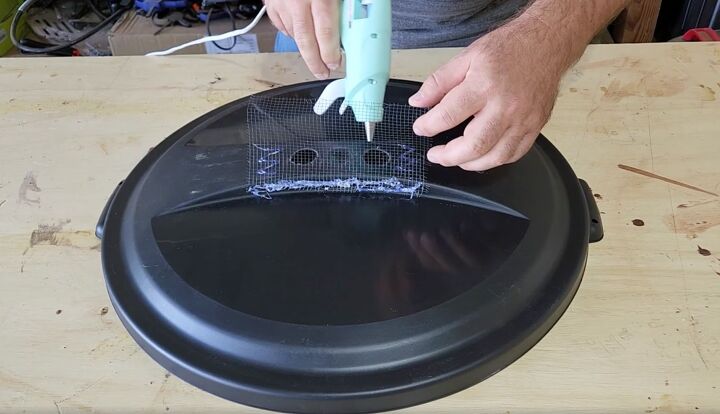
Next, apply zigzags of hot glue to the sides and back of the mesh and press it down. This will ensure a good adherence to the lid. Don’t be too concerned about how it appears because it will be on the bottom of the lid after it is placed on the can. When you flip it back over, you can see how clean the lid is and how the mesh will work well as a filter.
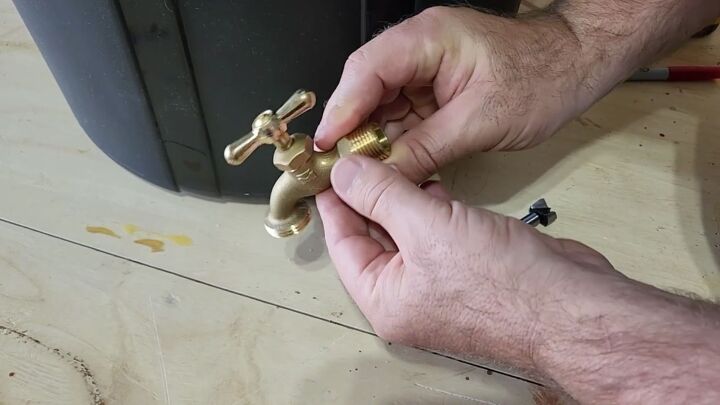
3. Installing A Faucet. It is now time to select a faucet so that you can retrieve the water. Look for a spigot that allows water to flow out easily. To drill a hole for the faucet, use a drill bit that is around the same size as the back’s threaded connection. Never drill directly at the bottom of the bucket; instead, mark a point an inch or two higher. This allows any little dirt or particles to settle to the bottom, preventing it from clogging the spigot when used for water.
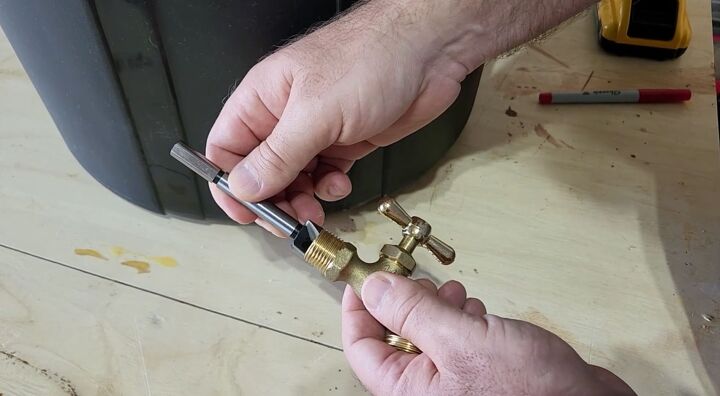
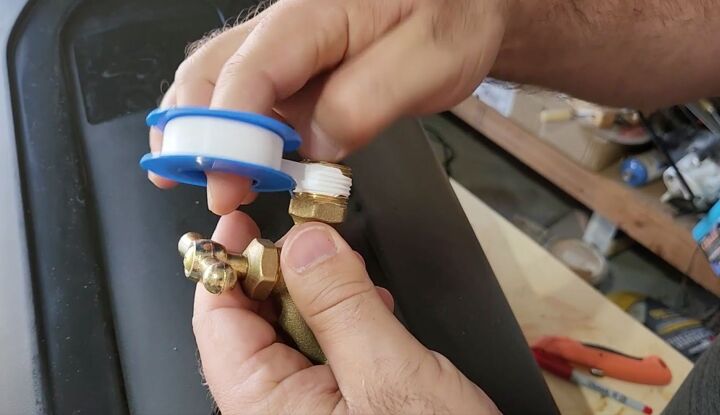
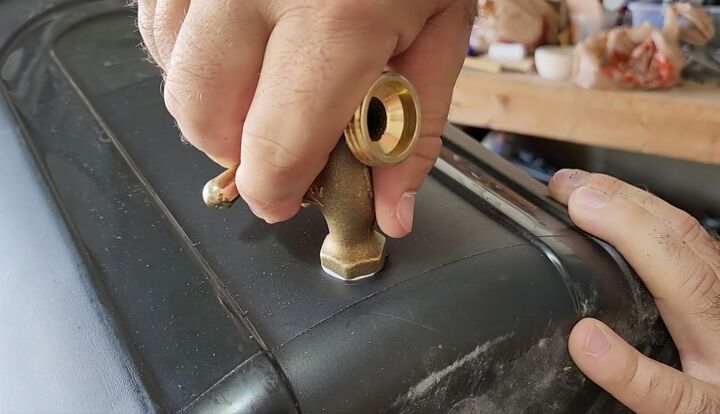
Drill into the marked region of your bucket. Be careful not to press too hard, as the drill bit will eventually pop through the plastic. Next, cover the spigot’s threads with plumbers tape. Normally, you wouldn’t wrap this much on a plumbing work, but for this project, you’ll want to wrap it six to eight times. Once the tape is on the threads, insert it into the bucket’s hole and gently turn it clockwise. Eventually, the threads will hold the bucket’s sides and tighten.
Continue twisting until the spigot is tight against the bucket’s walls. Don’t overtighten. Make careful to stop as soon as it feels snug. If you want to help with waterproofing, put some transparent silicone to the inside of the bucket. 4. Mounting the Rain Barrel. The next step is to set the bucket and lid on a stand that I placed outside near a downspout in my house.
I cut the downspout so that any rain that falls on my roof collects in the gutters and flows into the rain barrel. I zip-tied the cover shut so it wouldn’t fly away in the wind. I completed just in time for an unusual spring thunderstorm that passed through the neighborhood that afternoon. As the rain began to fall, the lid collected the moisture. The gutters performed their job, and the water began to flow smoothly.
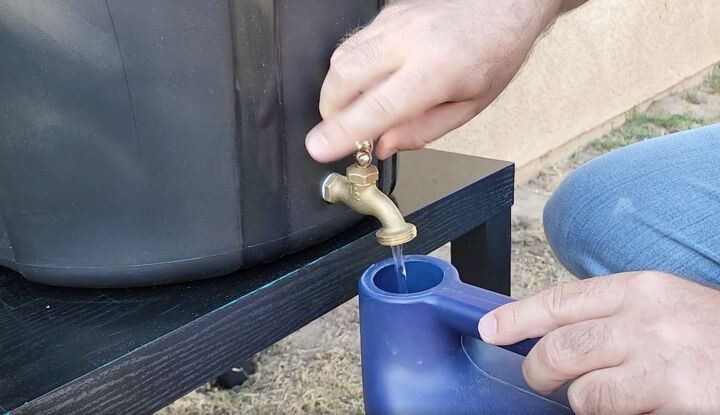
Even a tenth of an inch of rain in an 800-square-foot area will be enough to fill a fifty-gallon bucket. This brief passing storm provided me with at least 40 gallons of fresh rainwater. Saving Water with a DIY Rain Barrel: Step-by-Step Guide. Once I had water in my barrel, I could fill my watering can and water the plants on the house’s outside. It may not seem like much, but it is an excellent strategy to conserve water in many regions of the world. I encourage you to submit your eco-friendly water conservation ideas in the comments section!